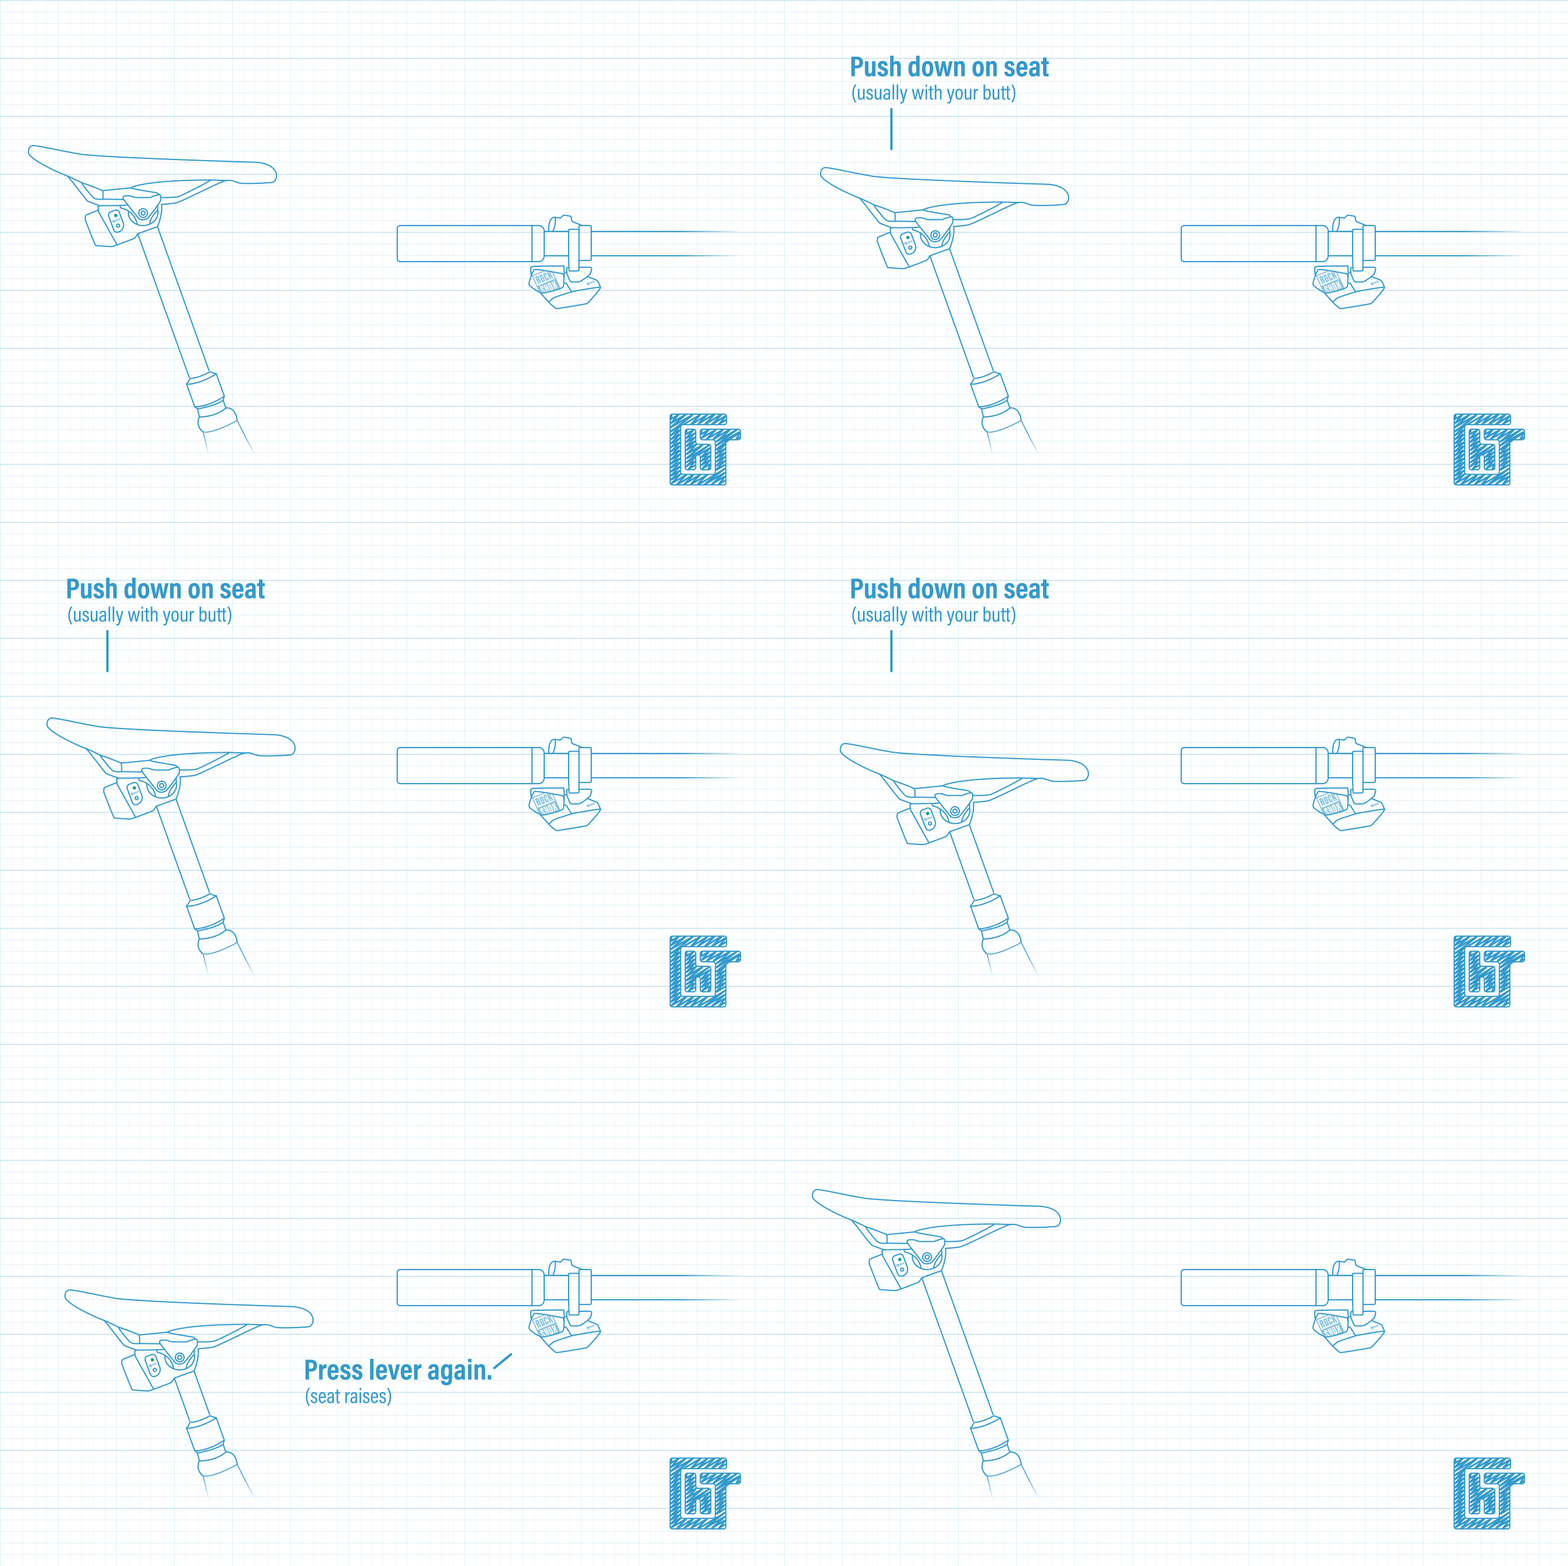
To lower the seat, press and hold the button on the lever and apply downward pressure (usually with your butt!) until the desired height - you can stop at any point and release the button to lock it at that point.
To raise the seat, remove any pressure (usually by standing up a bit) and press and hold the button on the lever. The seat will quickly raise back up.
If the lever runs out of battery unexpectedly, you can use the AXS button on the seatpost to adjust the height. It is manual and not ideal, but can help raise the seat back up to full height, if needed, until you can replace the lever battery.

Tips for Setting the Right Height
The "right" height will vary person to person based on preferences. The following tips will help you get the most out of your seatpost, but keep in mind that use is definitely a personal preference - use it the way you like!
- Use it often: One of the most common mistakes I see is people not using it enough! The great thing about the dropper is how quick/easy it is to use! Take advantage of that. Lower it whenever going downhill - or into a fast turn - and then pop it back up when going back into a climb. Don't hesitate to actuate it as often as needed to maximize comfort, speed and enjoyment.
- Lower it all the way for descending: I typically lower it all the way when descending anything for more than a few seconds. Pushing it all the way down is fast/easy and providing maximum room to lower and distribute the weight properly is key to safe and fast descent!
- Lower it a bit for climbing: Many find it helpful to lower the seat just a bit (I like somewhere between 1/4 and 1 1/2 inches, depending on the circumstances) when doing technical climbing - or in areas where I might need to suddenly climb a bit. Having a bit more room to move around on the bike - and to have the bike rapidly move up when going over rocks, logs, and other obstacles can be handy - and helps to avoid the seat suddenly hitting your crotch!